 Shop
ShopStep 1: Attaching the Sensor to Your Tank’s Dial
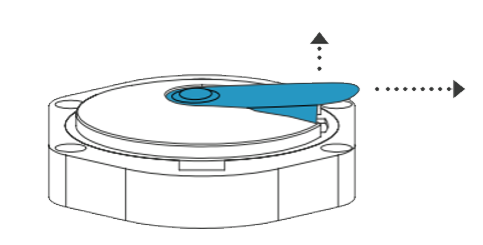
If your Remote-Ready Dial has a dust cap, you will first need to remove it by simultaneously pulling up on the tab while sliding the dust cap out of the dial.
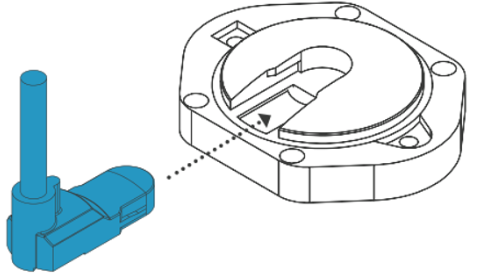
Slide the sensor into the dial slot until you feel it click.
Step 2: Turn Your Monitor On and Prompt a Reading
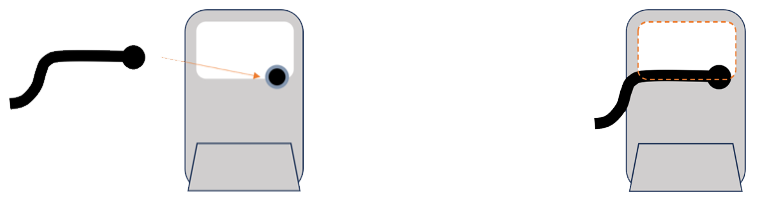
1. Attach sensor cable to the back of the monitor by aligning the connectors and tightening the two together. The cable should be aligned with the lower edge of the label. This will turn the monitor on and send a reading.
2. Successful Startup: On the front of the monitor, the two LEDs will flash to indicate a successful startup.
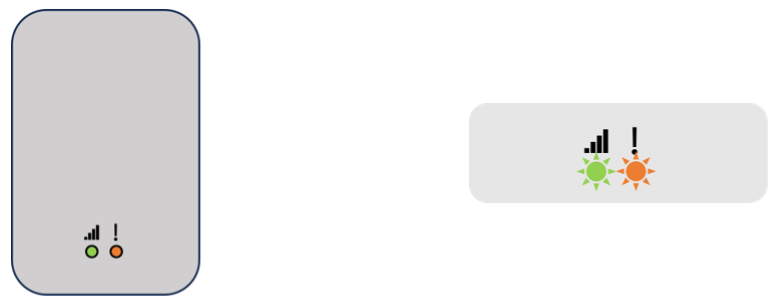

3. Sending a Reading: Then, the left-hand, green LED will blink as the monitor attempts to send a reading.

4. Reading Successful: When the left-hand, green LED is lit continuously, a reading has been sent successfully.
NOTE: Monitors often connect in under 2 minutes. However, it may take up to 15 minutes to establish cellular connection at some locations.

If the right-hand, red LED on your monitor becomes continuously lit, the monitor has not been successful at sending a reading. This is likely because it cannot connect to the cellular network, as the signal is not strong enough. Try moving the monitor to a new location on the tank and disconnecting and reconnecting the sensor cable for a 2nd try.
Step 3: Mount the Monitor
FOR ABOVE GROUND TANKS: The underside of the monitor has two magnetic feet which can be used to mount the monitor on the tank
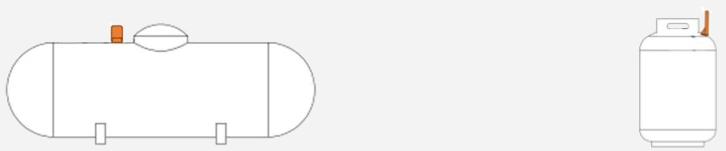
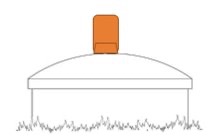
FOR BELOW GROUND TANKS: It is best to securely attach the monitor to the top of the lid. If the lid is not metal, you may screw the device into the lid using any standard self-tapping or wood screws. The screws can be attached by removing the Phillips head screws that hold the magnets in place and attaching the new mounting screws through the same holes. There are also provisions on the monitor base for attaching zip ties if this is a desired mounting method.
NOTE: Do not place the tank monitor under a steel lid or inside the collar since this can prevent the monitor from connecting to the cellular network. If the connection is taking more than a few minutes, you may want to try repositioning the monitor for a better signal.
Step 4: Configure Your Monitor to Access Fuel Level Data from Anywhere
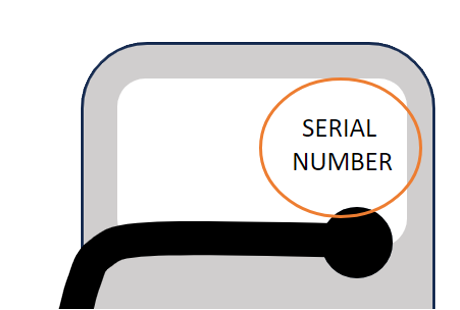
Use the serial number or barcode on the back of your monitor to connect your tank level data to Mobile Link, Fleet, or Portal. Follow the in-app instructions to configure your tank information.
TO TURN OFF THE FUEL MONITOR: Remove the cable. This will prevent the monitor from sending additional readings.